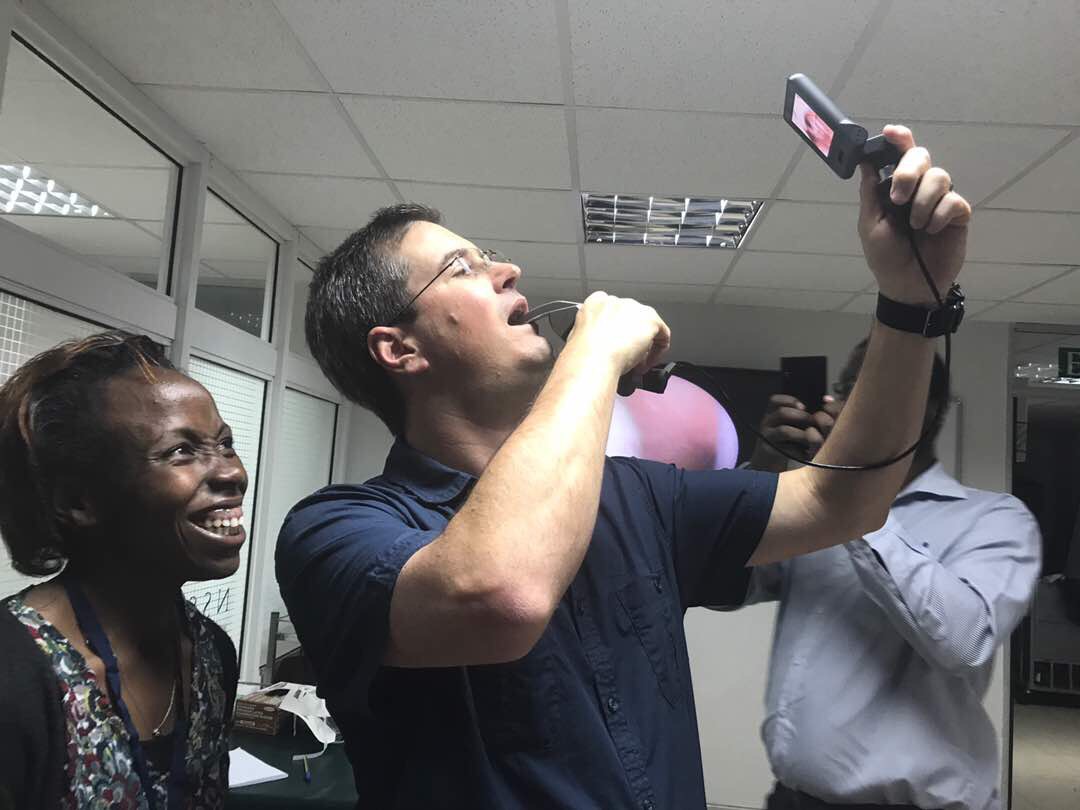
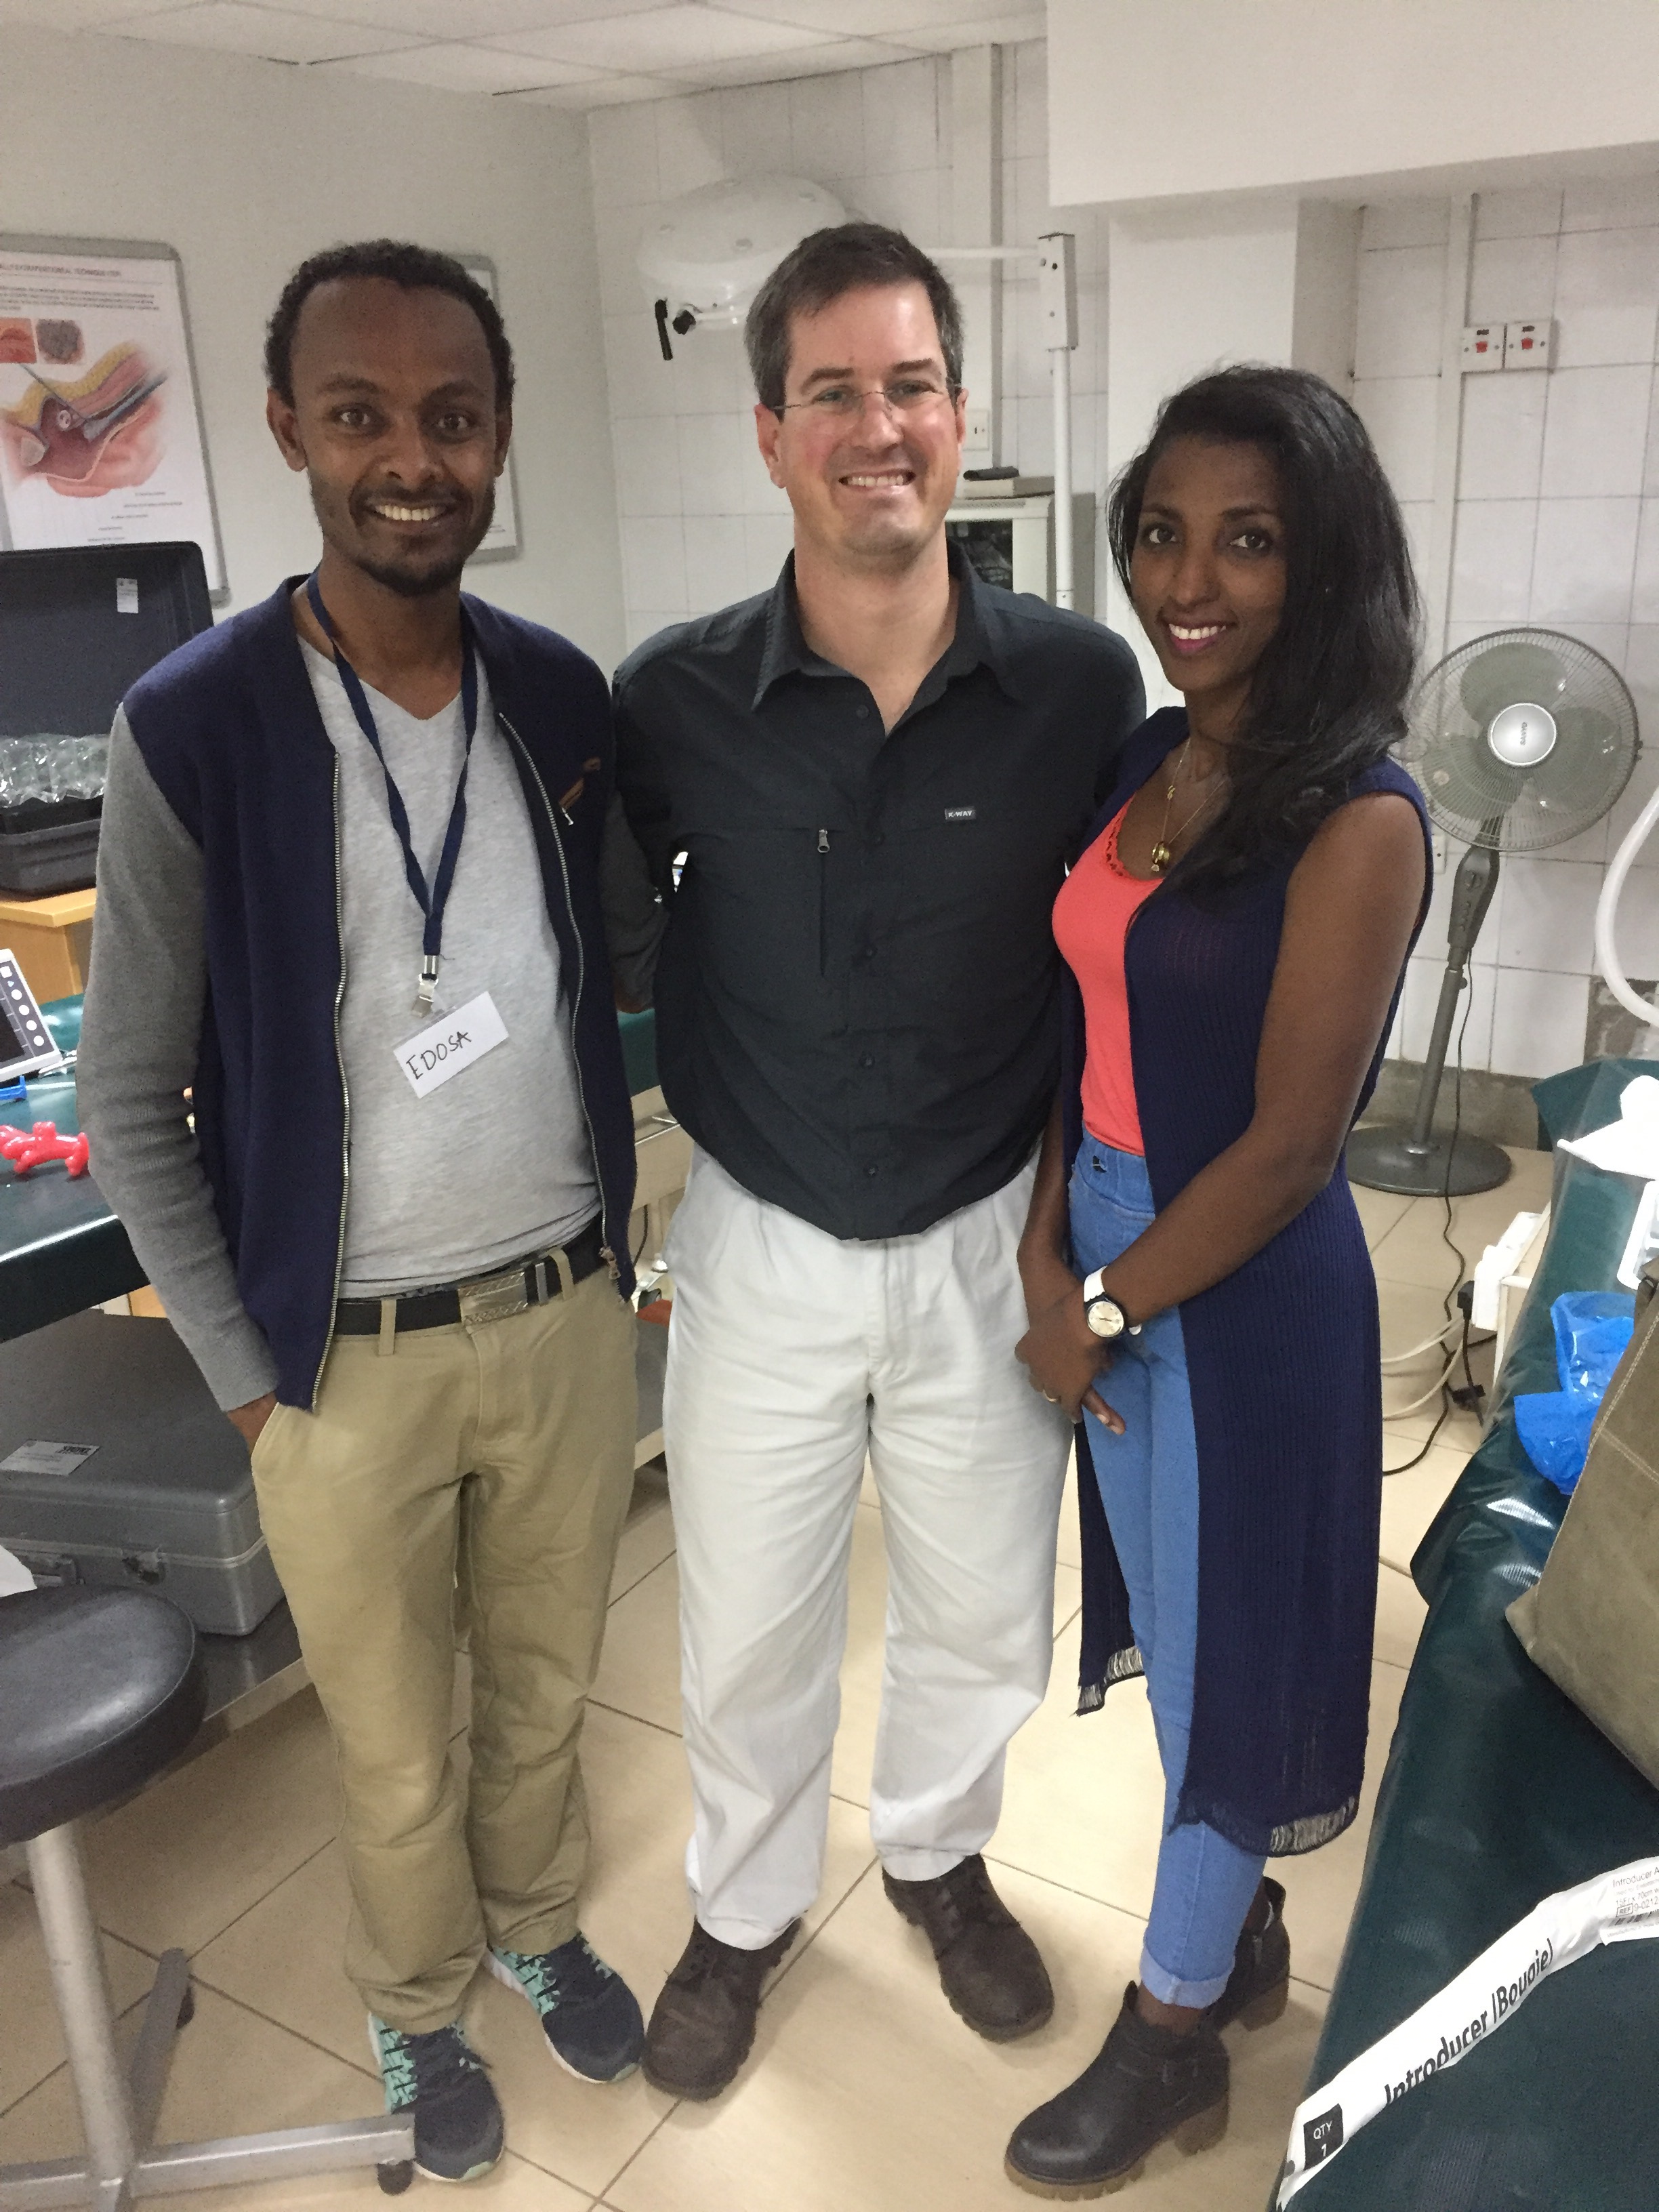
Here’s a great example of using a dual endoscopy technique not only to manage a potentially difficult airway, but also to give more insight into the pathology itself. This short video shows the intubation of a patient who presented for thyroid surgery with a large mass compressing the trachea, as well as some other predictors of difficult intubation: slightly limited mouth opening, a short neck, and potentially challenging dentition. We wanted to see the position and degree of tracheal compression present before advancing the tracheal tube, but also to place the modified tube with nerve monitoring sensor precisely at the right depth.
Video laryngoscopy with a Mackintosh-style blade provided good access to the airway, and allowed us to spray the vocal cords and trachea with local anaesthetic, avoiding neuromuscular blockers. We could then place the tip of the tube through the vocal cords and observe the trachea and subglottic space using the Bonfils optical stylet. Both images are displayed side-by-side to coordinate view. It’s a good tip to put the device in your left hand on the left side of the screen (and corresponding right-handed device on the right) to promote good orientation.
If you’ve tired dual endoscopy for a clinical case, pop a description or brief story in the comments!
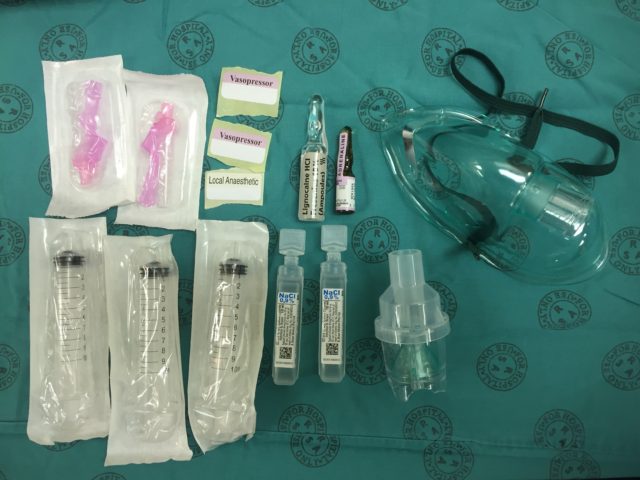
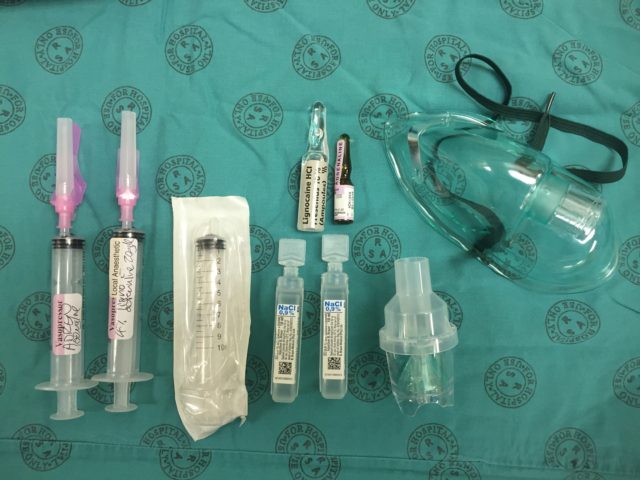
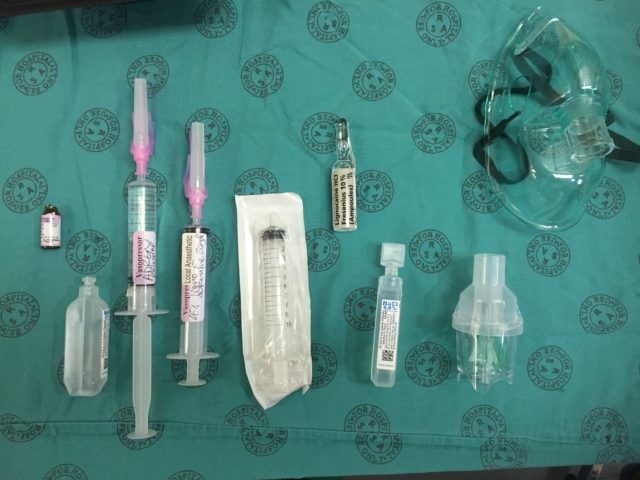 Transfer 2 ml (200 mcg) of the dilute adrenaline into the mix syringe:
 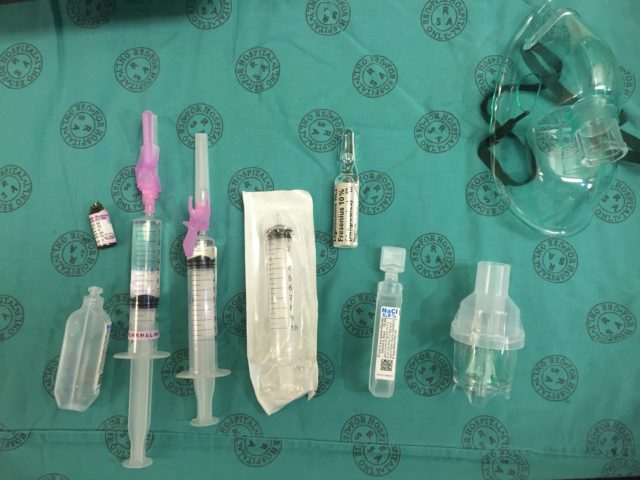 Add 4 ml of the 10 % lignocaine solution to the mix syringe (use all 5 ml if you want to make a 5 % solution rather than the usual 4 %):
 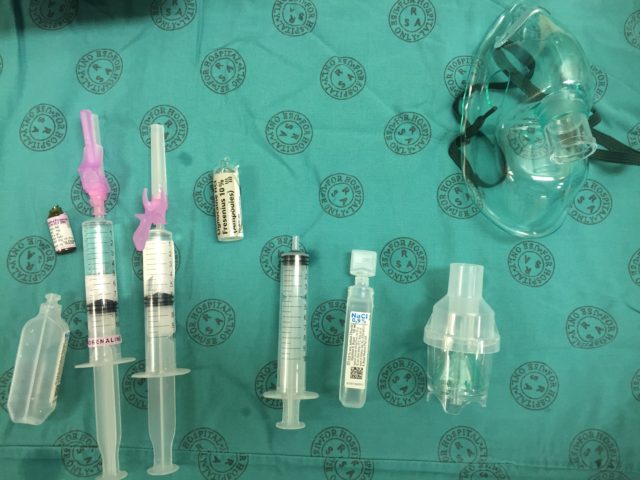 Add saline to the mix syringe to a total volume of 10 ml. You now have 4 % (or 5 %) lignocaine with 20 mcg/ml adrenaline:
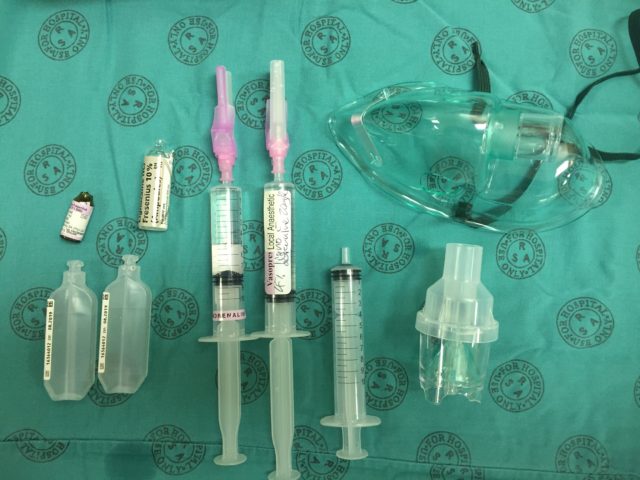
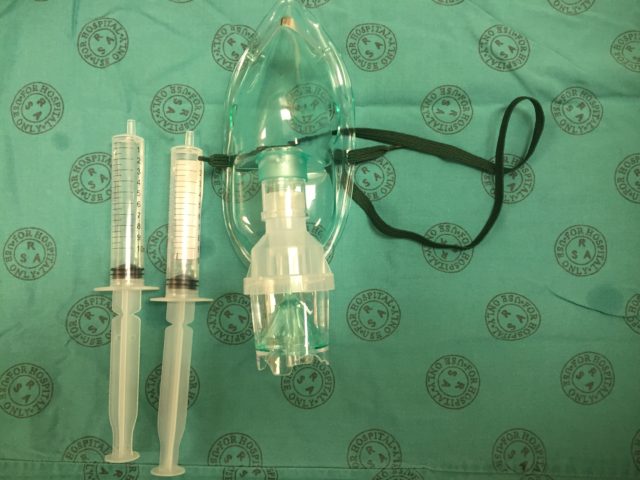
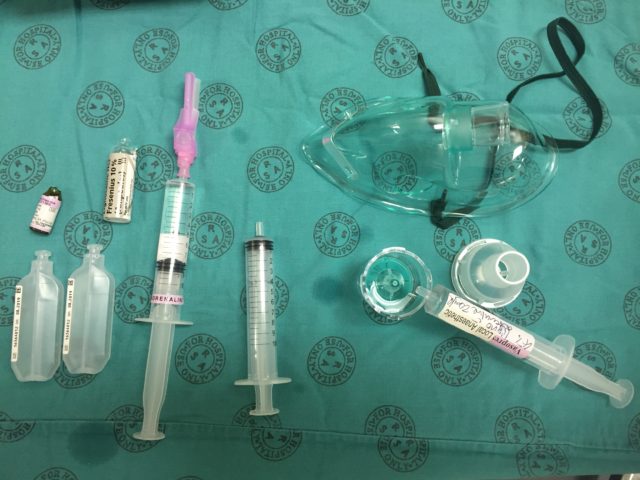 Split the remaining 5 ml mixture into two 10 ml syringes (using your third syringe) to be used for spray-as-you-go through the scope if needed:
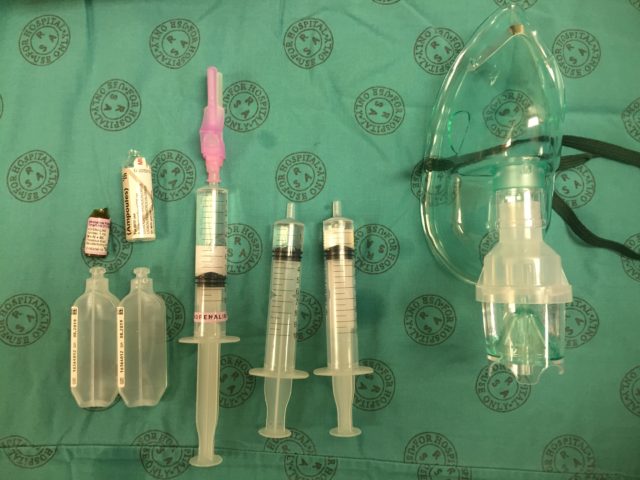 Put the rest of the adrenaline solution somewhere safe (or discard it), and draw back the plungers on the mix syringes all the way. This introduces air which then blows the local mix through the scope when you do spray-as-you-go. Don’t forget to give the neb plenty of time to work (15-20 minutes, until complete).
  Don’t forget to use adjuvant strategies to improve your topicalisation, such as gargling, atomised spray, or topical gel/paste, and enter your cases into a registry such as TheAirwayApp so that we can build worldwide experience with different techniques!